Preparation is the part of a garage floor coating you do not see, and it is the part that decides whether the floor lasts. Most failures trace back to a surface that was not clean, sound or open enough for the coating to bond. Here is what proper preparation involves, whether you are hiring a pro or deciding if a do-it-yourself kit is realistic.
Step 1: Clear and inspect
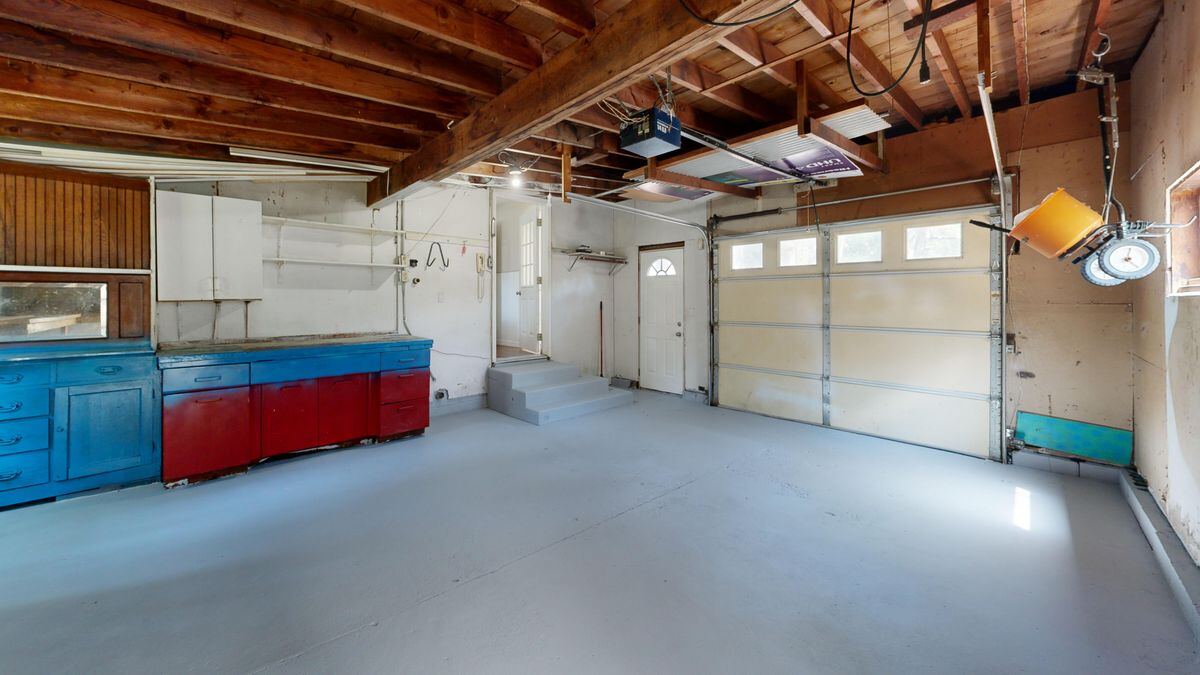
Empty the garage completely. Look for cracks, pits, stains, old paint or sealer, and any damp or white powdery patches. Note where the floor slopes and where water collects.
Step 2: Check for moisture
Concrete can pass moisture vapor up through the slab. If it is trapped under a coating it can cause bubbles and peeling. Professionals use moisture meters or standard tests. A rough home check is to tape a square of clear plastic to the floor for about a day and see if condensation forms underneath. It is not a precise test, but it can flag a problem.
Step 3: Degrease and clean
Remove oil, grease and dirt with a suitable degreaser, and rinse thoroughly. Any residue left on the surface can prevent bonding. Deep oil stains need extra care; see cracks and oil stains.
Step 4: Remove old coatings and sealers
Paint, previous coatings, curing compounds and sealers act as a barrier between the epoxy and the concrete. They must be removed down to bare concrete, usually by grinding.
Step 5: Grind the surface
A diamond grinder levels the slab and opens the pores of the concrete so the coating can grip. This is usually the step that separates a professional floor from a kit. Acid etching is a common shortcut sold with DIY kits, but it can give an uneven profile and leave residue. Grinding is the better method.
A safety note: grinding concrete creates very fine dust that contains silica, which is a health hazard when breathed. Professionals use grinders connected to dust extraction and wear respirators. This is a strong reason to hire a pro for anything beyond a small area.
Step 6: Repair cracks, joints and damage
Fill cracks with a repair material suited to the crack, patch spalled or pitted areas and level low spots. Control joints are usually filled with a flexible filler rather than coated over rigidly.
Step 7: Vacuum and wipe
Remove all dust before the primer goes on. Dust left behind creates weak spots under the coating.
Step 8: Check the weather and the slab
Temperature and humidity affect how coatings cure. In the Valley, installers often work early in the day in summer and follow the manufacturer's limits for slab and air temperature. A coating applied in the wrong conditions can bubble or cure unevenly.
DIY or professional?
- DIY kits cost less up front, but are usually thinner and rely on etching or light cleaning. Mistakes are hard to fix.
- Professionals bring grinders and extraction, test for moisture and apply thicker multi-coat systems with a written warranty.
Prices vary with the size of the garage and the condition of the slab; see our Phoenix price guide. For the full list of installation steps and questions to ask a contractor, read how a professional system is installed.
If it goes wrong
Peeling or bubbling usually points back to preparation or moisture. See why garage floor coatings peel in the heat for causes and what to do. Ready for a quote? Use the form and a local contractor will contact you.
Related guides
- Can You Epoxy a Garage Floor With Cracks or Oil Stains?
- Do Garage Floor Coatings Peel in the Arizona Heat?
Published 2026-11-05. General information, not a quote.